Showing posts with label tutorial. Show all posts

Monday, 29 October 2012

Most Popular Post: Elmo takes the cake

I like looking at stats. Numbers. All so orderly. It just gives me chills. As I look at my blog stats every few days, there is one thing that is consistent. The number of pageviews I get from a single post: my How to make an Elmo cake post. It is ALWAYS the highest ranking, and has been since I published it. I'm guessing it is because my post title matches so well with search criteria. The most popular being:

  1. how to make an elmo cake
  2. how to make elmo cake
  3. how to make a elmo cake
Coming in a close fourth is "wedding cake disasters" search keywords which leads me to my second most popular post of a wedding cake delivery gone terribly wrong for me. Very little writing, but in this case, the picture told it all. It's still painful for me to look at. I guess a lot of people like to look at painful things. 

So, what's the point of this little exercise? At first I thought maybe I should change how I write my blog post titles, and even the subjects, to garner the most views and bigger audience. I could research trends and write that way. But I don't want to do that. I don't write this blog because I want a huge following. I write because I find something that interests me and if it interests someone else, that's all good. I like to share what I know, and start conversations. I believe that information should be free. It's why, to the chagrin of many of my colleagues, I don't mind giving away the "secrets of the trade" or sharing my recipes when someone calls to ask me. Don't get me wrong, I expect to be paid for teaching a class because I'm preparing and delivering information in a specific way, but my advice is free. 

Does that mean I'll stop looking at stats. Absolutely not. I still love the chilly feeling of looking at numbers. 

Wednesday, 19 September 2012

How to make easy deviled eggs.

As part of my food offering for my father's toga party, I brought deviled eggs. I was asked for my "recipe" so many times that I thought I'd post it here:

Ingredients:
Eggs
Mayonnaise
Fresh Chives (optional)

Also:
Medium sandwich bag
Large star tip (optional)

1. Boil your eggs for about 10-15 minutes. Let cool completely.
[I boiled them the day before I needed them and put them in the fridge overnight.]


2. Slice each egg in half, vertically. Remove and reserve the yolks in a medium bowl.


3. Store the empty halves in a deviled egg holder or tray. 
This tray has holders that are actually ice packs. It holds items cool for 4-6 hours: perfect for picnics!


4. Mix in mayo to taste. Use a fork to mash it all together.
I started with about 3 tbsps for 15 yolks, but ended up using about 1/2 cup. Add a little at a time until it's as creamy as you want it to be. 


5. Cut a hole in the corner of a sandwich bag and insert a large star tip. 
If you don't have a star tip, just cut a 1/4" hole in the corner of the bag.


6. Fill the bag with the yolk mixture. Zip the top of the bag!


7. Squeeze out the yolk mixture into the waiting eggs. Add sprigs of fresh chives as garnish.

You can mix it up as you'd like. Try using salad dressing, adding paprika or other spices. I like to keep it simple. 

Do you add anything else to your deviled eggs?

Learn to Bake Your Own Croissants!

Friday, 14 September 2012

How To Fill Cupcakes

Filled cupcakes are, in my humble opinion, the best thing ever. The. Best. Just a little bit of cake to snuggle the creamy goodness all without having to lift a fork. Fantastic, right?

Here's the method I use to create filled cupcakes that look amazing when cut or bitten into, without the sides of your little cake bursting or having a "bubble" top. 

Step 1: Using a paring knife, cut a circle about 1/4" from the edge of the cupcake. Do not go all the way down to the bottom of the cake. Pull out the circle and a little flat-bottom cone will come out.

Step 2: Slice off the bottom of the "iceburg". Keep the top. Discard the bottom or use for cake balls.

Step 3: This is worth considering a step. Line up your tops with your cupcakes so you know where they are going later! Don't just throw them in a pile or your cupcakes won't have that finished look!

Step 4: Fill your cups 3/4 full with the filling of your choice. Here, I've used Strawberry Italian Meringue Buttercream with chunks of strawberries.

Step 5: Put the tops on. If you lined them up, the cuts will match exactly.

Step 6: Decorate as usual.

Step 7: Surprise! Enjoy.

What's your favourite filling for cupcakes?

Are there any other cake mysteries you'd like solved? Let me know and I'll put up a tutorial!

Wednesday, 12 September 2012

WW: Chicken and Potatoes in the Oven!

I like using red potatoes so I don't have to peel them, and they make the dish more colourful.

Using a wedger makes everything so much quicker. It literally takes 2 seconds to cut up each potato. 
All the same size! Yay!
I toss everything together in the cooking pan.

 I skin the chicken pieces and rub in coarse sea salt and rosemary. Bake at 375F for about an hour or until  the internal temperature of the chicken reaches 180F [170F if you're using breasts].
Yum!


Monday, 10 September 2012

Olive Oil For Hair Too!

If you read my last post, you'll know I was enamored by AThriftyMrs's suggestion for oil and water as an eye make up remover. She's also done posts on egg and mayo in her hair as a conditioner. That was the inspiration for my own "mayonnaise" experiment.


While I usually have some form of mayo in the house, I only had salad dressing when I wanted to try this treatment. Of course. And since I didn't want to wait until I went grocery shopping again, I decided to improvise. (Is impatience the true mother of invention?)

What is actual mayonnaise but oil and egg, right?


I put equal amounts (okay, I eyeballed it - this isn't exactly rocket science, or baking ;-) of egg and olive oil in a cup. I then used my magic bullet mixer (I'm sure any blender would do) and mixed until the mixture was thick and creamy. It was not quite as thick as store-bought mayo, but definitely easier to manipulate than just egg or oil alone. I slathered this goop on my head, paying special attention to the ends, which are seriously splitsville. I left it on for about 20 minutes.

I read a chapter of this while waiting for the mayo-y goodness to steep. Yay for libraries!
I was worried that this would be stinky, sticky and gross, but was pleasantly surprised to find none of the above. After the initial "ick" factor of dipping my hand in to the cup, there was no more unpleasantness than any other leave-in treatment. It smelled like olive oil - surprise, surprise. Olive oil makes me think of bread and tomatoes so I was kind of jonesing for a picnic.

After a good wash and conditioner my hair was definitely shinier - not dull at all. Sadly, my ends are still nasty and I know the only cure is to cut them, but the frizz was GONE.

So, it's off to the salon for me!

Have you ever tried anything like this before? What's your fave homemade hair or beauty treatment?

Tuesday, 8 November 2011

Slow Cooker Pepper Orange Pork Stew

When I know my day will be too busy to make a decent meal (and I can't justify going out for dinner) I often rely on my trusty slow cooker to save the day. 

On Sunday, our day was packed with Nutcracker rehearsal for the Boy in the morning, followed by an outing at the Science Centre. I knew we wouldn't be back until 6, and by that time no one would feel like cooking, or waiting for food. 

Using what I had on hand, and making a few changes, I adapted this recipe from The Complete Canadian Living Cookbook:


This is my go-to cookbook for everything. I received it as a gift in 2001 and have consistently used it since then. I have SHELVES of cookbooks, but this one is by far the most useful. [By the way, this is not a sponsored post, but if anyone at Canadian Living is reading this, I'd wouldn't refuse a subscription renewal! :) ]

On with the stew!

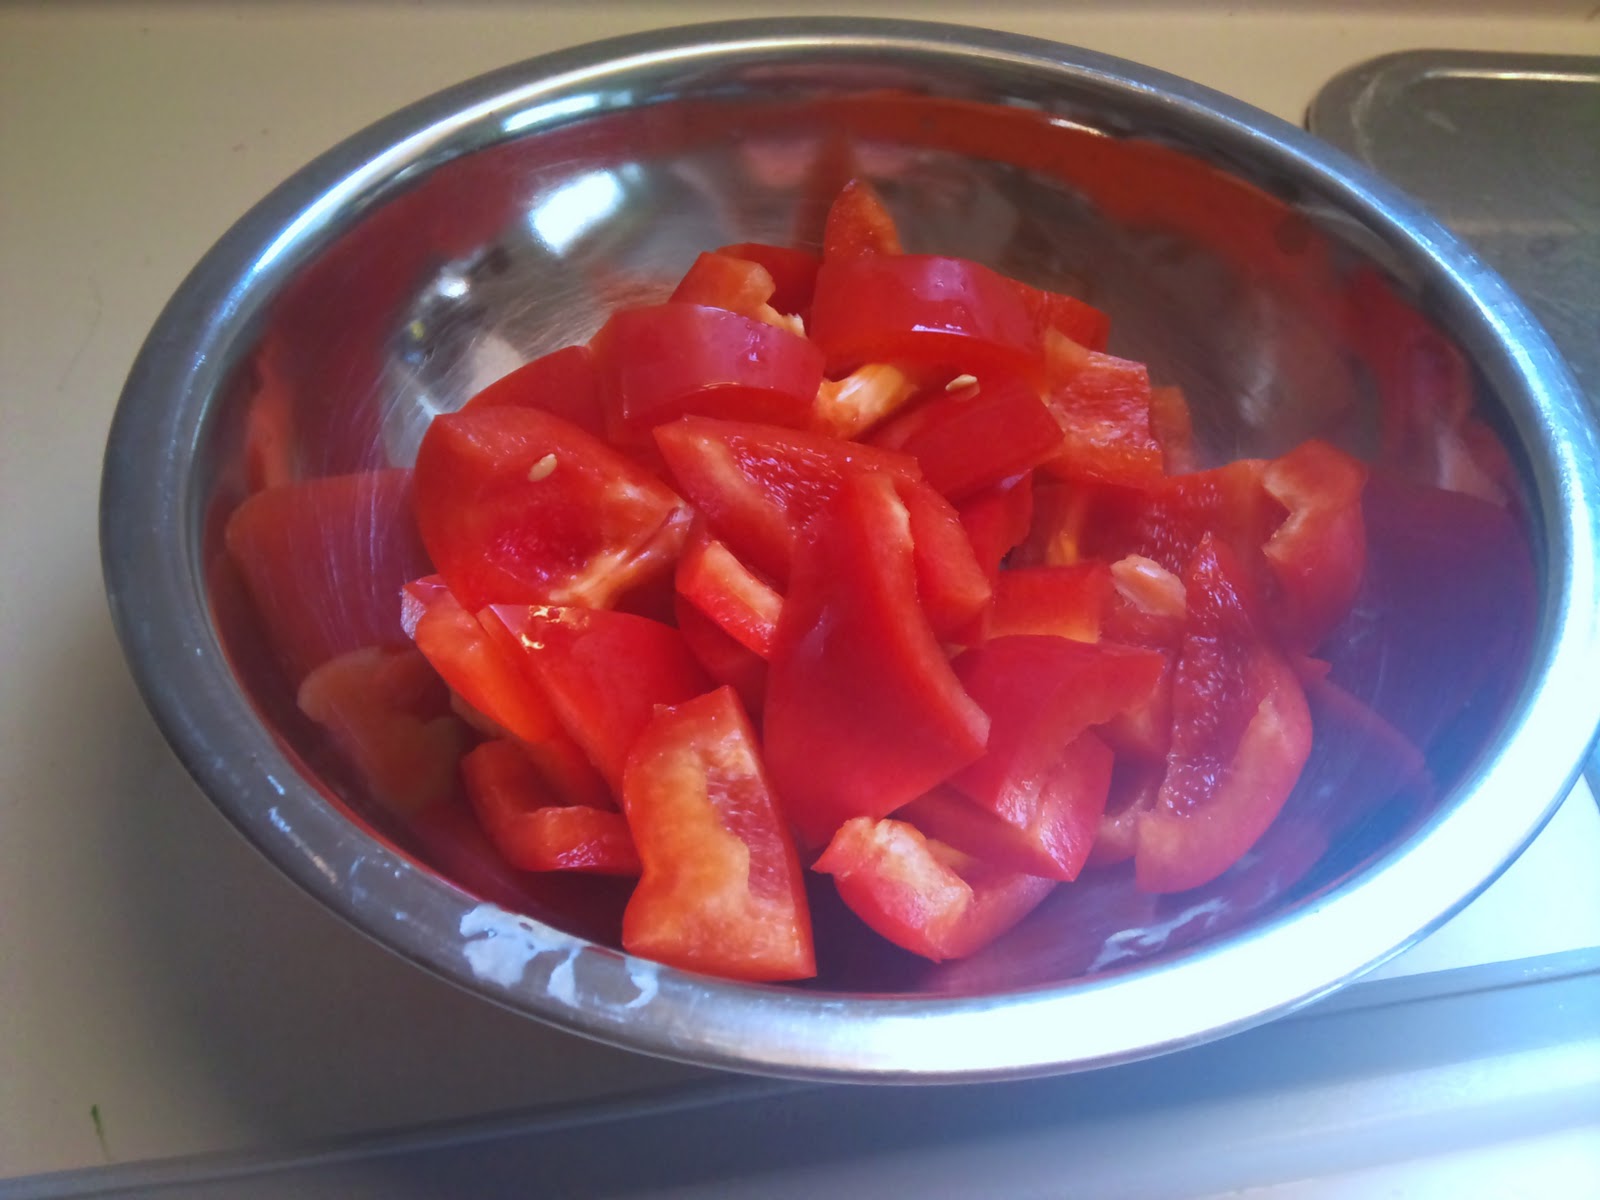
I started with 2 large red peppers and 1 large knife. [I don't mess around with knives.]
Chop them into bite size pieces and set aside. 
Next, chop 1 large onion. Add to the peppers. 
Chop up about 850g of pork. The recipe calls for 2lbs/1kg of shoulder  butt. I used pork loin for two reasons. Less fat = less prep and it's what I had on hand. :) The recipe also calls to brown the meat in oil. I used a non-stick pan and no oil and reduced the fat as well.  Once the meat is browned/seared, dump it into the crock pot.
Add the veggies to the pan and brown those as well. These steps can be omitted.  If you'd like, forget the browning part completely and just dump everything into the crock pot and turn it on. I like the extra flavour it gives when browning first. 
I added 6 cloves of slivered garlic into the pan. I'm using my handing garlic shaver.  Works like a dream.  The garlic  is paper thin and nearly completely dissolves in whatever you're making. 
Cook veggies until they just start to wilt, then add them to your slow cooker.

The recipe calls for a cup of broth, which I didn't have ready. So I cheated and used half  a bouillon cube and a cup of water. 
I added a couple turns of a coarse salt/rosemary mix.
I also threw in some extra asparagus spears that were left over from the quiche I made to take with us to the Science centre. 
Next, the recipe asks for tomato paste, but I didn't have any of that either. [Notice a theme here?] Luckily I  DID have some diced tomatoes that my mother put up this summer. I threw in about 2.5cups. 

Next for the orange bit. I grated the rind of one orange with my microplane, right into the slow cooker. 
Followed chunks of peeled orange and some rubbed sage. 

Give everything a good mix...
Turn on low and enjoy the rest of the day!
By the time we got home, I was tired and not thinking. [Surprise, surprise.] I just cooked up some basmati rice (I have a microwave rice cooker - perfect rice in less than 20 minutes) and fed the brood. I didn't even think about taking a picture. :S However, the reviews were mixed. My husband and I loved it, but the kids were not too keen on the orange flavour. I'll probably make this again, but without the orange.

What do you make when you know you won't have time to cook? What is your favourite slow-cooker recipe? Do you plan your meals or fly by the strings of your apron?


Linking up here:

         Magical Mouse Schoolhouse    A-Wise-Woman-Builds-Her-Home

Thursday, 20 October 2011

Finding [re]purpose

I've made another dent in my stuff-to-do-before-Christmas list. I know. It's only October. But another way to look at it would be: it's already October. That means November is coming and then it's just a blink before I realize that it's Christmas eve and I haven't taken down the handprint turkeys the kids brought home from school.

So... like many out in blogland, and other fantasy worlds, I will take baby-steps each day and be completely prepared for whatever's done, is done by Christmas.

Here's my start: I made some gifts! Yay me! I've always wanted to make gifts for friends and family but have never made the time to do it. Well, with my belt cinched a little tighter [and not because I lost any weight] this year, I'm making myself make time. 

This gift was inspired by The Wellsprings of Life, who was in turn, inspired by others. But visit her site for more info and how-to. I started with a thrifted placemat [set of 4: $1.50].

I made sure to get one that had corners and wasn't rounded off. I folded and pressed. Sewed up the sides and made 1" straight seams where the pencils go. The most time was making the straight seams, but all in all it took about 1/2 hour, start to finish. And here it is:


I'll add a pack of coloured pencils and ta-da! The sparkly bits and teal ribbon will appeal to my niece and little cousin. Add some colouring pages, books, maybe some paper dolls and the entire gift will cost less than $15. 

My godson's 1st birthday is coming up in a few weeks and here is part of his gift:

I was inspired by LilBlueBoo for this one. I loved bean bags when I was a kid. I also know that my kids would rather play with blocks or builders or boxes etc than flashy plastic light up toys. Sure, those things hold their attention for all of 5 minutes, but it's the non-moving toys that last the longest and get the most use. So, this is my contribution to my godbaby's collection of stuff he'll actually play with. 
The fabric is upcycled pillowcases. Even the cute dragon print on the back of the bags! I gave them a good thorough wash, cut to shape, pressed, stenciled the letters in fabric paint, let dry, sewed, turned, pressed, filled, topstitched, done! These took about 1 hour to do and most of that was cutting out "perfect" squares [note to self: get rotary cutter!] and the stenciling. I let them dry about an hour before I put them together. The Girl "helped" me fill the bags with dried beans and then had to test them out for 1/2 hour before I reminded her that they were for the baby and I would make her some of her own. 

What do you think?

Next up, I'm going to try my hand at some scarves.....

Linking up here:


HOG
Related Posts Plugin for WordPress, Blogger...